
Preparing Fedora image
There are several steps you'll need to carry out before you can launch the new image.
Step 1
First create a 3GB image using the following command:
dd if=/dev/zero of=rootfs3G.ext3 count=6M

NOTE: This took about 45 seconds
Step 2
Now format the image you just created using the following command:
/sbin/mkfs.ext3 rootfs3G.ext3
You will warned that rootfs3G.ext is not a block special device
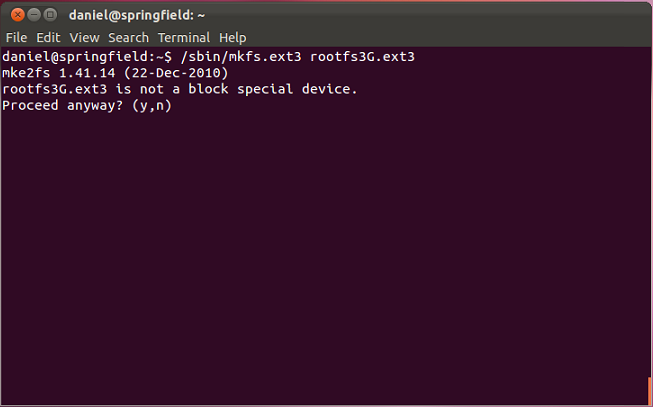
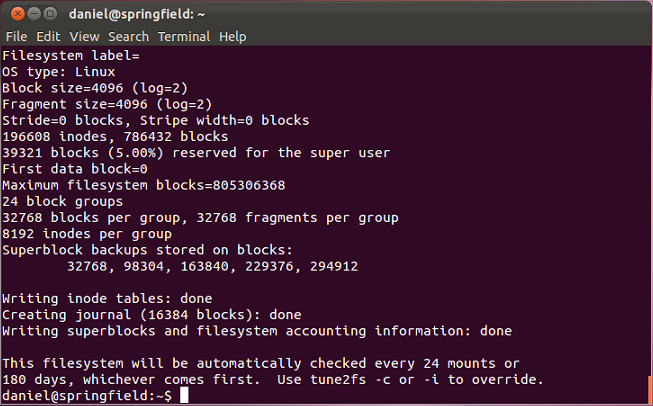
Simply press y - the image will be formatted, displaying the results:
Step 3
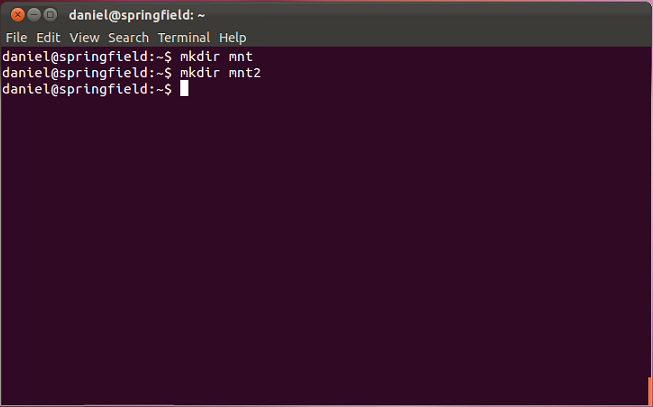
Create 2 folders to use to extract the image, using the following 2 commands:
mkdir mnt
mkdir mnt2
NOTE: Do not run these as sudo as this will create the folders with administrative permissions only
Step 4
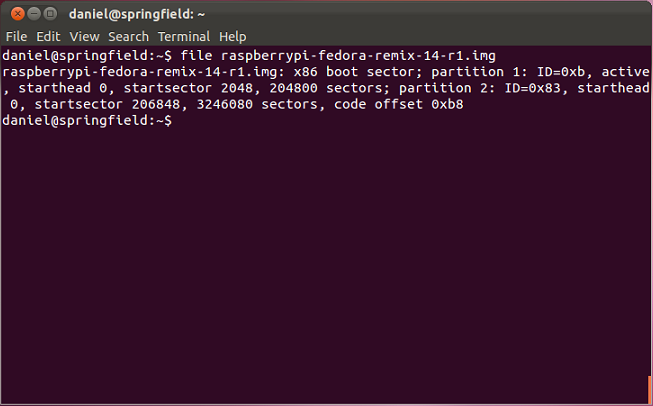
Next view the fedora image to identify where the 2nd sector starts using the following command:
file raspberrypi-fedora-remix-14-r1.img
Take a note of the strartsector value for partition 2 as seen below (206848 in this case)
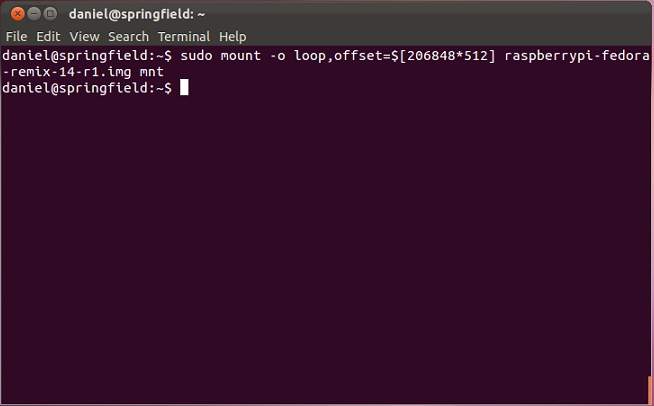
Step 5
The next step is to mount the 2nd partition in the image (identified by the startsector value above) to the new mnt folder created in step 3 using the following command:
sudo mount -o loop,offset=$[206848*512] raspberrypi-fedora-remix-14-r1.img mnt
NOTE:
The offset value identified which sector to start reading from
Following that we specify the fedora image
Lastly we specify device to mount the image to
Step 6
The next step is to mount the 2nd partition that will be used to copy the image to using the following command:
sudo mount -o loop rootfs3G.ext3 mnt2
NOTE:
rootfs3G.ext3 is the name of the image created in step 1
mnt2 is the 2nd folder created in step 4

Step 7
Next copy the contents of the mounted partition of the image onto the new image created.
To clarify:
We created the mnt folder and mounted the 2nd partition from raspberrypi-fedora-remix-14-r1.img onto it.
We created a new blank image called rootfs3G.ext3 and formatted it
We created the mnt2 folder and mounted the rootfs3G.ext3 image onto it
We will now copy the files from mnt to mnt2 - this will copy the files from the partition to rootfs3G.ext3 with the following command:
sudo cp mnt/* mnt -a

Step 8
Now unmount the 2 folders created to copy the files from the partition to the new image using the following commands:
sudo umount mnt2
sudo umount mnt
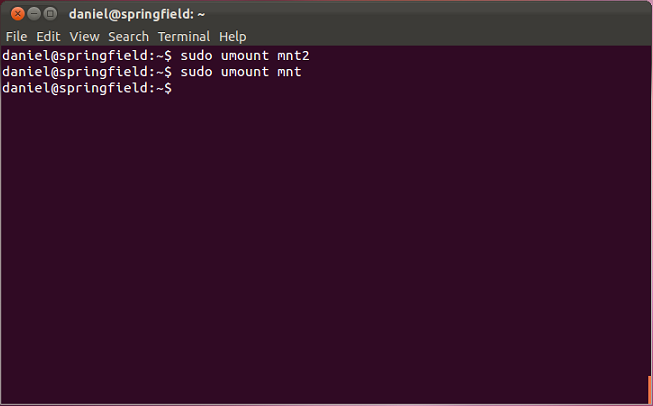
This now leaves us with a new image called rootfs3G.ext3 containing the files from the 2nd partition of the official fedora image. Qemu can now be launched pointing to this image.
Next: Launching Fedora
No comments:
Post a Comment