Friday, 30 March 2012

The home stretch

Well, this has been an interesting week.  For those of you not religiously following the forum & website, there have been a few more delays, but we are now most definitely on the home stretch.  As announced by RS in their now-regular Friday afternoon email (they don't seem to have much to say, but the fact that they keep the lines open seems to help), a decision has been taken to perform compliance testing on the Raspberry Pi, essentially testing the device's electromagnetic compatibility (EMC).  This tests how much radiation the device will emit while running, which can interfere with other electronic devices.  Things like TVs, radios, or even pacemakers some seem to suggest.

Now - just to put minds at rest - the amounts we're talking about here are far less than anything a standard mobile phone or wireless router will emit.  The original idea (backed up by a lot of expert technical and legal advice) was to ship the initial 10K boards as development boards, and therefore exempt from compliance testing requirements.  Compliance testing would then be carried out before the educational release towards the end of the year.  Due to the scale of the project though, the sheer volume of people clamouring for a Pi and the type of people interested (very much non-developers) Farnell and RS have decided to cover themselves and bring the compliance testing forward.  This did of course mean a further delay to the project.

It's been a week now since the announcement was made and  a lot progress has been made.  Initial testing has been carried out at the factory and the first 2000 boards were shipped, arriving in the UK on Monday.  The Foundation posted some great photos of the boards going through the first round of tests (see this post: : http://www.raspberrypi.org/archives/878)

And then there was a post today that really made us pi-owning-wannabes wet themselves (http://www.raspberrypi.org/archives/945) - photos of the 2000 boards, in the UK, being unboxed.  I must sale, 2000 Pi is quite a site to see.

I won't go into all the details (these can be easily found on both the Raspberry Pi website or the Element 14 website), but the main points are as follows:
  • Compliance testing is well underway
  • The first batch has a very high (97%+) pass rate
  • Although some emissions were detected these were tracked down to the HDMI connection and it would seem these can be resolved by software & firmware changes to the broadcom chip (already completed)

As one can imagine, there has been a lot of quite heated debate about how this has happened, why it has happened, whether it was the right decision, why it wasn't done differently, etc., but this seems to follow the same tired rant of people out there impatiently waiting for their delivery.  They seem to forget that it's been 4 weeks since launch date and boards have been corrected (Ethernet jack issue), unexpected compliance testing has been carried out, they've been shipped from China to the UK, passed through customs, are undergoing additional compliance tests and should be ready to ship (in my mind at least) in the next week or two.  That's pretty damn good as far as I'm concerned.  Let's remember this is a revolutionary start-up project producing and delivering a one-of-a-kind product that's still technically in development - not some off-the-shelf, in-stock product that one can buy from Amazon.

So - here's to a new week, hopefully with the official release.

Wednesday, 21 March 2012

Update....?

So, what's happening?  Anything?  It hasn't seemed like much this week.

We've had a few emails from RS Components, confirming that our order is very important to them, requesting that we please keep waiting, and assuring us that we are number 204,843 in the queue.  I received my email last Friday (16th), asking me to log onto the site and confirm my details before Tuesday 20th (come and gone).  So no definitive progress, but there's contact at least.

Some people have even received an email Farnell confirming a slightly real delivery date - some stating mid-April, others end of May.  Not firm dates yet, but again it's progress.  I haven't received an email from them yet - I don't know if this means I'm still on the very early batch and don't need an update email, of I'm so far back in the list that I will be getting a June or July email one of these days.  Time will tell I suppose.

The Foundation has been pretty quiet over the last 2 weeks, with Liz and Eben taking a well-deserved break (although there's a rumour that Liz has hurt her knee!).  This has left everyone feeling a little lost at sea, not quite knowing when the shipments will be coming in, when they should start taking time off work, when they should warn their families of the impending antisocial behaviour and Pi-ness.

But, there's been good news - Liz checked in this evening!  After a week of snow, excruciating knee injuries, tequila (and bird watching??) she's managed to get internet access and has assured us that the world is not falling apart.  There are apparently RS and Farnell reps on site in China (or will be next week when Liz has a call with them). 

So on the whole, I think things are looking up.  The Foundation is back, RS & Farnell are communicating with us, there are people in China overseeing the ramping up of the productions.  The oven is on, the Pi is in - we're just waiting for that ping...

Monday, 19 March 2012

Using DD for Windows


Following my earlier post covering how to create an SD card using Win32DiskImager, I thought I'd put together a similar post for using DD for Windows.

First, a precaution:  This will manually remove partitions from the SD Card.  Ensure you follow the steps carefully as you could end up erasing data on other drives in your computer.  This can actually delete the partition that you're currently running Windows on!  But don't worry - I've got some basic steps you can take to make sure you're making the right changes

EDIT: 06/05/2012: In an attempt to tidy up my blog I've placed this under a separate page - you can find it here, or on the tabs at the page.

Thursday, 15 March 2012

Fedora Issues & Solutions


Issues & Solutions

So - you've followed the first 4 sections, but you've hit some issues?  Here are the areas I've had problems with.


EDIT:  Well, I've left it a bit long now since I actually hit the issues and I'm drawing a blank now, but I'll come back and review this section shortly.  In the mean time, feel free to post commands and I'll see if it jogs my memory!

Launching Fedora


Launching Fedora
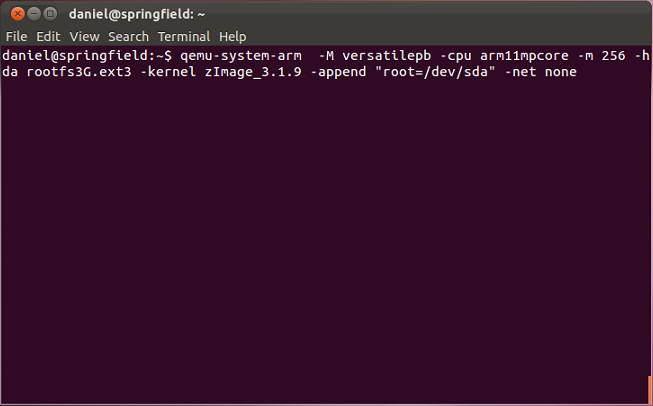
Once the above steps have been carried out you will be ready to launch the Fedora image using the follwoing command:
    qemu-system-arm  -M versatilepb -cpu arm11mpcore -m 256 -hda rootfs3G.ext3 -kernel zImage_3.1.9 -append "root=/dev/sda" -net none

A new window will open, launching the Fedora OS

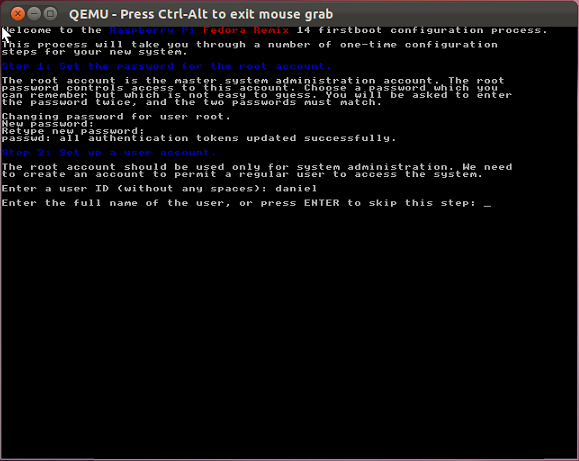
Once launched, you will be presented with a set of 5 steps to configure the OS.  These can be tricky to follow and aren't easy to read, so take this slowly

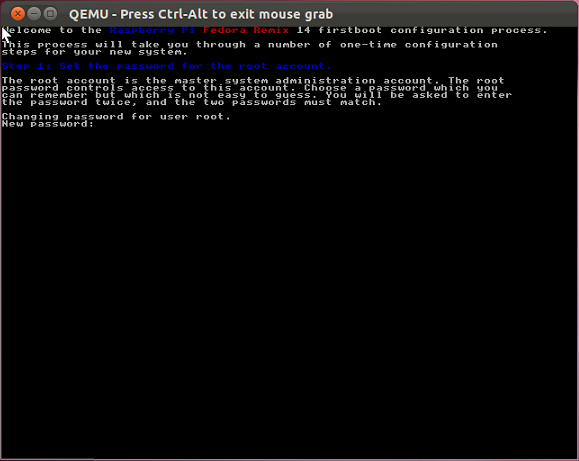
Step 1
You will be required to set the password for the root user.  After you log in for the first time you will be asked to change the password, so when you choose a password make sure you have a 2nd one lined up!  You will be asked to create a password that's long enough, not in sequence, not a dictionary word, etc., so try come up with something unique.

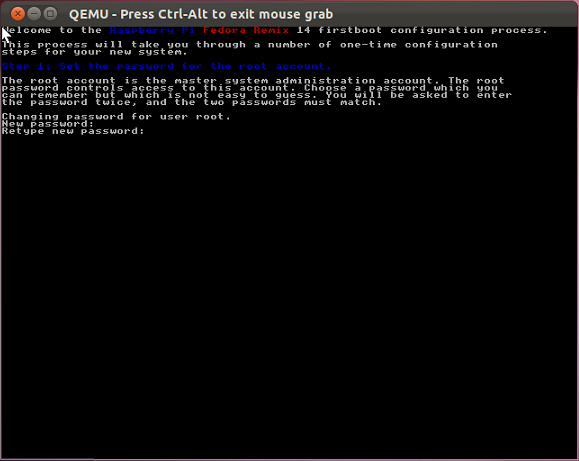
Once you've entered the password you'll be prompted to enter the password again:


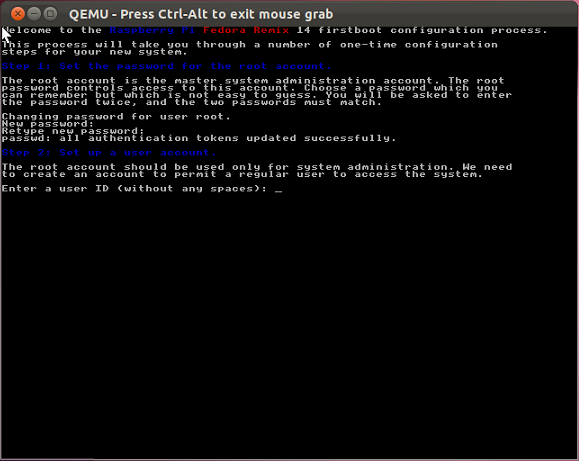
Step 2
Once the root account has been configured you'll be asked to set up a new account as the root account will generally be used for administrative functions.  Enter a username/user ID.  I've simply used my name here:

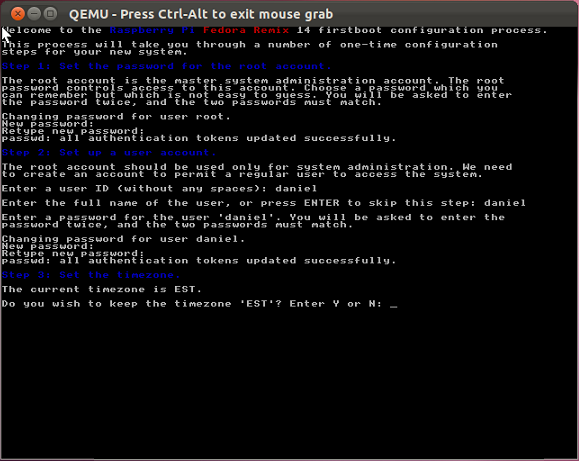
Once you've entered the username/user ID you will be prompted to enter a full name.  This is optional, but I just entered my name again:

Once the full name has been entered you will be prompted to enter a password.  As with the root user, you'll be asked to change this when first logging on, so use use a temporary password:

And as usual, you'll be prompted to confirm the password:

Step 3
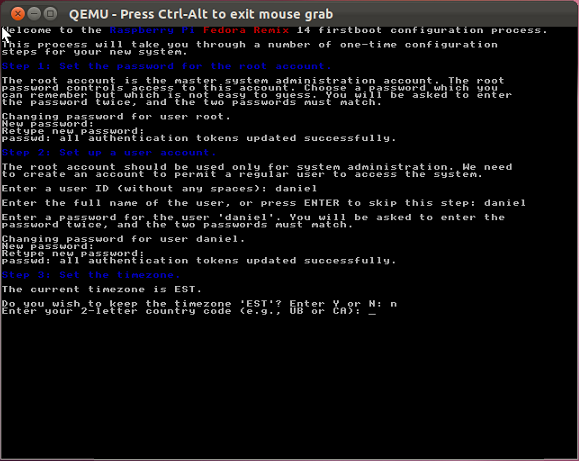
Once the new user has been set up you'll be prompted to confirm the timezone (defaulting to EST).  I've chosen N here

And entered GB for the country code:

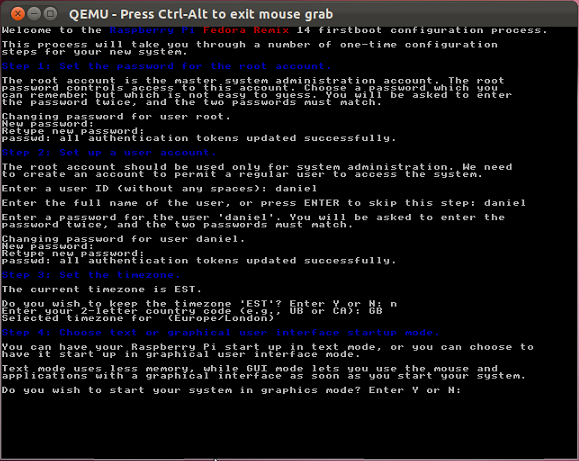
Step 4
The next step is to chose the mode in which Fedora will start up - i.e. start up in graphics mode or not.  As there might be the need to carry out various tweaks to the system it's important to select N here.  You will be able to launch the UI from the command line once you boot up.


Next: Fedora - Issues & Solutions

Preparing Fedora image


Preparing Fedora image
There are several steps you'll need to carry out before you can launch the new image.

Step 1
First create a 3GB image using the following command:
    dd if=/dev/zero of=rootfs3G.ext3 count=6M
 
NOTE: This took about 45 seconds

Step 2
Now format the image you just created using the following command:
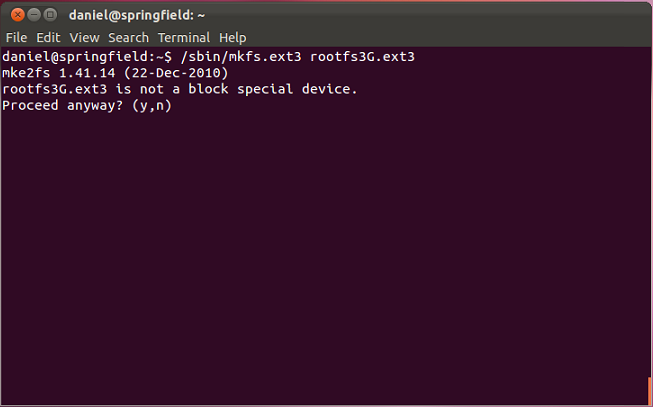
    /sbin/mkfs.ext3 rootfs3G.ext3
You will warned that rootfs3G.ext is not a block special device


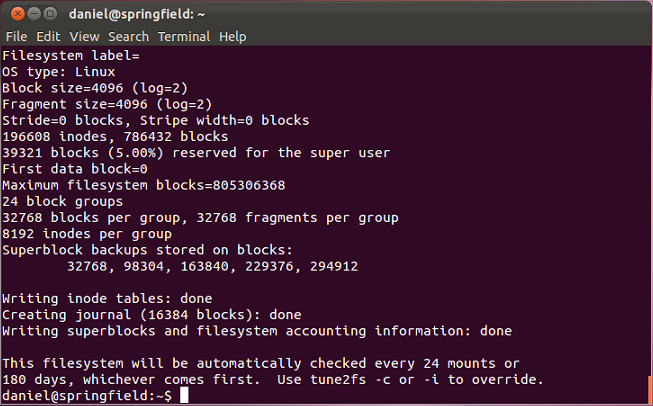
Simply press y - the image will be formatted, displaying the results:


Step 3
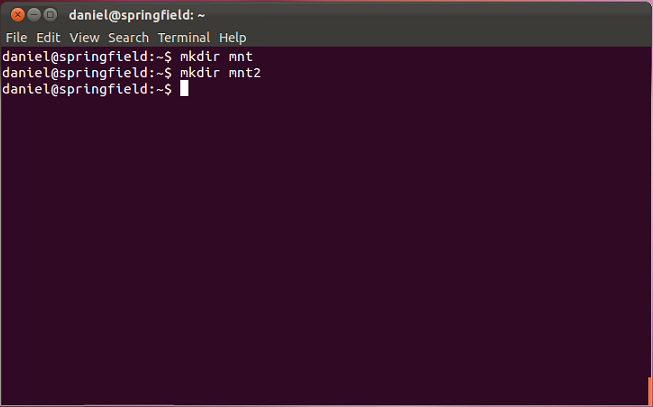
Create 2 folders to use to extract the image, using the following 2 commands:
    mkdir mnt
    mkdir mnt2
NOTE: Do not run these as sudo as this will create the folders with administrative permissions only


Step 4
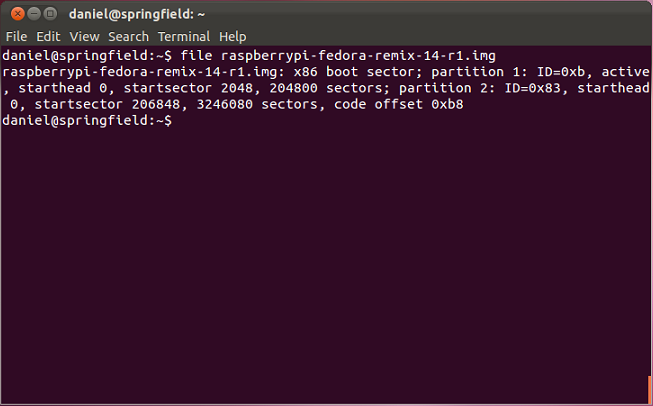
Next view the fedora image to identify where the 2nd sector starts using the following command:
    file raspberrypi-fedora-remix-14-r1.img
Take a note of the strartsector value for partition 2 as seen below (206848 in this case)

Step 5
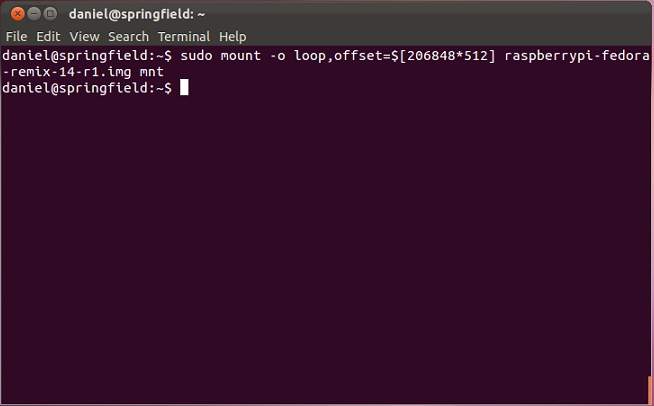
The next step is to mount the 2nd partition in the image (identified by the startsector value above) to the new mnt folder created in step 3 using the following command:
    sudo mount -o loop,offset=$[206848*512] raspberrypi-fedora-remix-14-r1.img mnt
NOTE: 
    The offset value identified which sector to start reading from
    Following that we specify the fedora image
    Lastly we specify device to mount the image to

Step 6
The next step is to mount the 2nd partition that will be used to copy the image to using the following command:
    sudo mount -o loop rootfs3G.ext3 mnt2
NOTE:
    rootfs3G.ext3 is the name of the image created in step 1
    mnt2 is the 2nd folder created in step 4

Step 7
Next copy the contents of the mounted partition of the image onto the new image created.
To clarify:
  We created the mnt folder and mounted the 2nd partition from raspberrypi-fedora-remix-14-r1.img onto it.
  We created a new blank image called rootfs3G.ext3 and formatted it
  We created the mnt2 folder and mounted the rootfs3G.ext3 image onto it
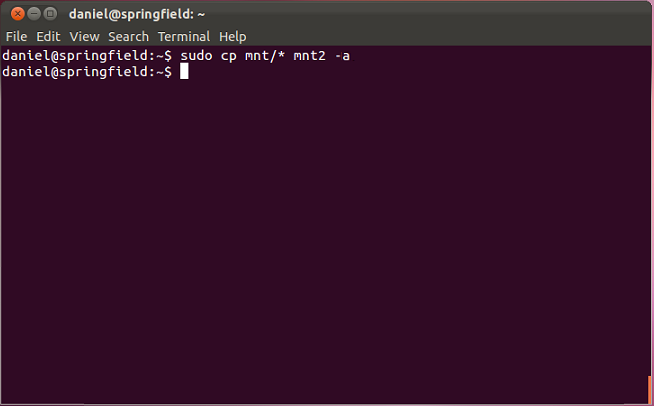
We will now copy the files from mnt to mnt2 - this will copy the files from the partition to rootfs3G.ext3 with the following command:
    sudo cp mnt/* mnt -a

NOTE: This will take several minutes

Step 8
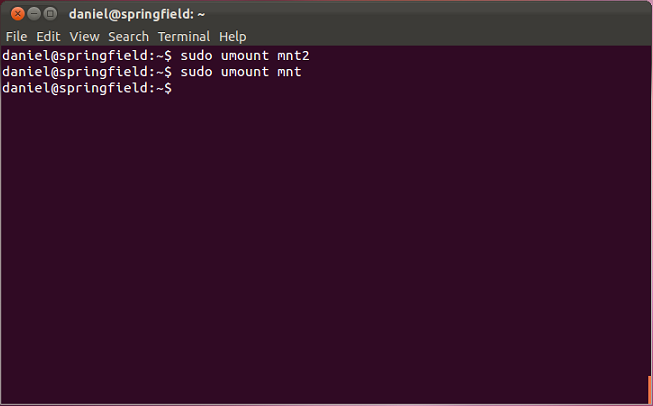
Now unmount the 2 folders created to copy the files from the partition to the new image using the following commands:
    sudo umount mnt2
    sudo umount mnt

This now leaves us with a new image called rootfs3G.ext3 containing the files from the 2nd partition of the official fedora image.  Qemu can now be launched pointing to this image.


Next: Launching Fedora


Wednesday, 14 March 2012

Fedora on a virtual Pi


While my physical Raspberry Pi might be several days or weeks away still, I've decided to take a stab at getting the new Fedora image up and running on a virtual machine.  After several hours of digging around on the forums I found several posts & blogs that managed to get it up and running, although they were all quite technical.

So, I decided to write up this, and hopefully provide an simple process for others to follow.
IMPORTANT NOTE: Thanks to everyone on the Raspberry Pi forums that got me this far!

Prerequisites
1. I'm running Ubuntu 11.10
2. You'll need to download the official Fedora Remix 14 for the Raspbery Pi (http://downloads.raspberrypi.org/images/fedora/14/r1-06-03-2012/raspberrypi-fedora-remix-14-r1.img.gz).  Save it somewhere accessible like your home folder (/home/username)
3. You'll need to download a re-compiled package for the image (http://dl.dropbox.com/u/45842273/zImage).  Save it in the same location as the image above
4. This is a work in progress.  Let me know if you've had any issues (even better - if you know the answers too!) and I'll update the post


Installing Qemu
Qemu is available as a standard package in the Universe repository.

Step 1
Open the Terminal utility:

Step 2
Ensure you have the latest repositories - type in the following command:
    sudo apt-get update
You will see the updates being downloaded:


Step 3
Download and install Qemu - tyoe in the following command:
    sudo apt-get install qemu


NOTE: I ran into a few issues with this - see the issues section below.


Next: Preparing Fedora Image